1. Before you want to add a new product, go to: Products > Attributes
2. Next, fill the name. Then, click add attribute.
3. Click configure terms on the attributes you just add before.
4. Add any variation you want by filling the name. For example, if weight variation, add ‘500g’. Then click add new weight.
5 – The list of variation will be shown on the right table. Rearrange the terms by click & drag the three line icon. You can add as many as you want. After done adding the attributes, you can proceed to next step.
1. From dashboard, on the left menu, go to: Products.
2. Hover to ‘Variable Template Product’ and click duplicate.
3. Click on the duplicated product just now, then edit the product name, product link and description. Description will appear at the bottom of single product page.
4. For product categories, you can click add new category or choose any product categories from the list.
5. For product tags, just enter any tags and click add
6. Scroll down to ‘Product data’ section.
7. For product image, product gallery, stock quantity and SKU, you will add later in Advanced Bulk Edit.
8. Then, click ‘Linked Products’ tab. Upsells is for the products that you want to display to user while they are viewing the product in a single product page. Meanwhile, cross-sells is for the products that you want to display to user while they are viewing the product in the cart.
9. Click ‘Attributes’ tab, select product attributes and click add.
10. Click used for variations checkbox and click select all.
11. You can just click on the value if you want to remove any of it. After that, click save attributes.
12. Next, click ‘Variations’ tab and select create variations from all attributes, click Go. If there is a popup appear asking for verification, just click OK
13. To set the regular price for all the listed variations, click the dropdown, select set regular prices and click Go. When a popup appear, enter the price you want and click OK. Repeat this step to set sale prices, scheduled sale date or weight.
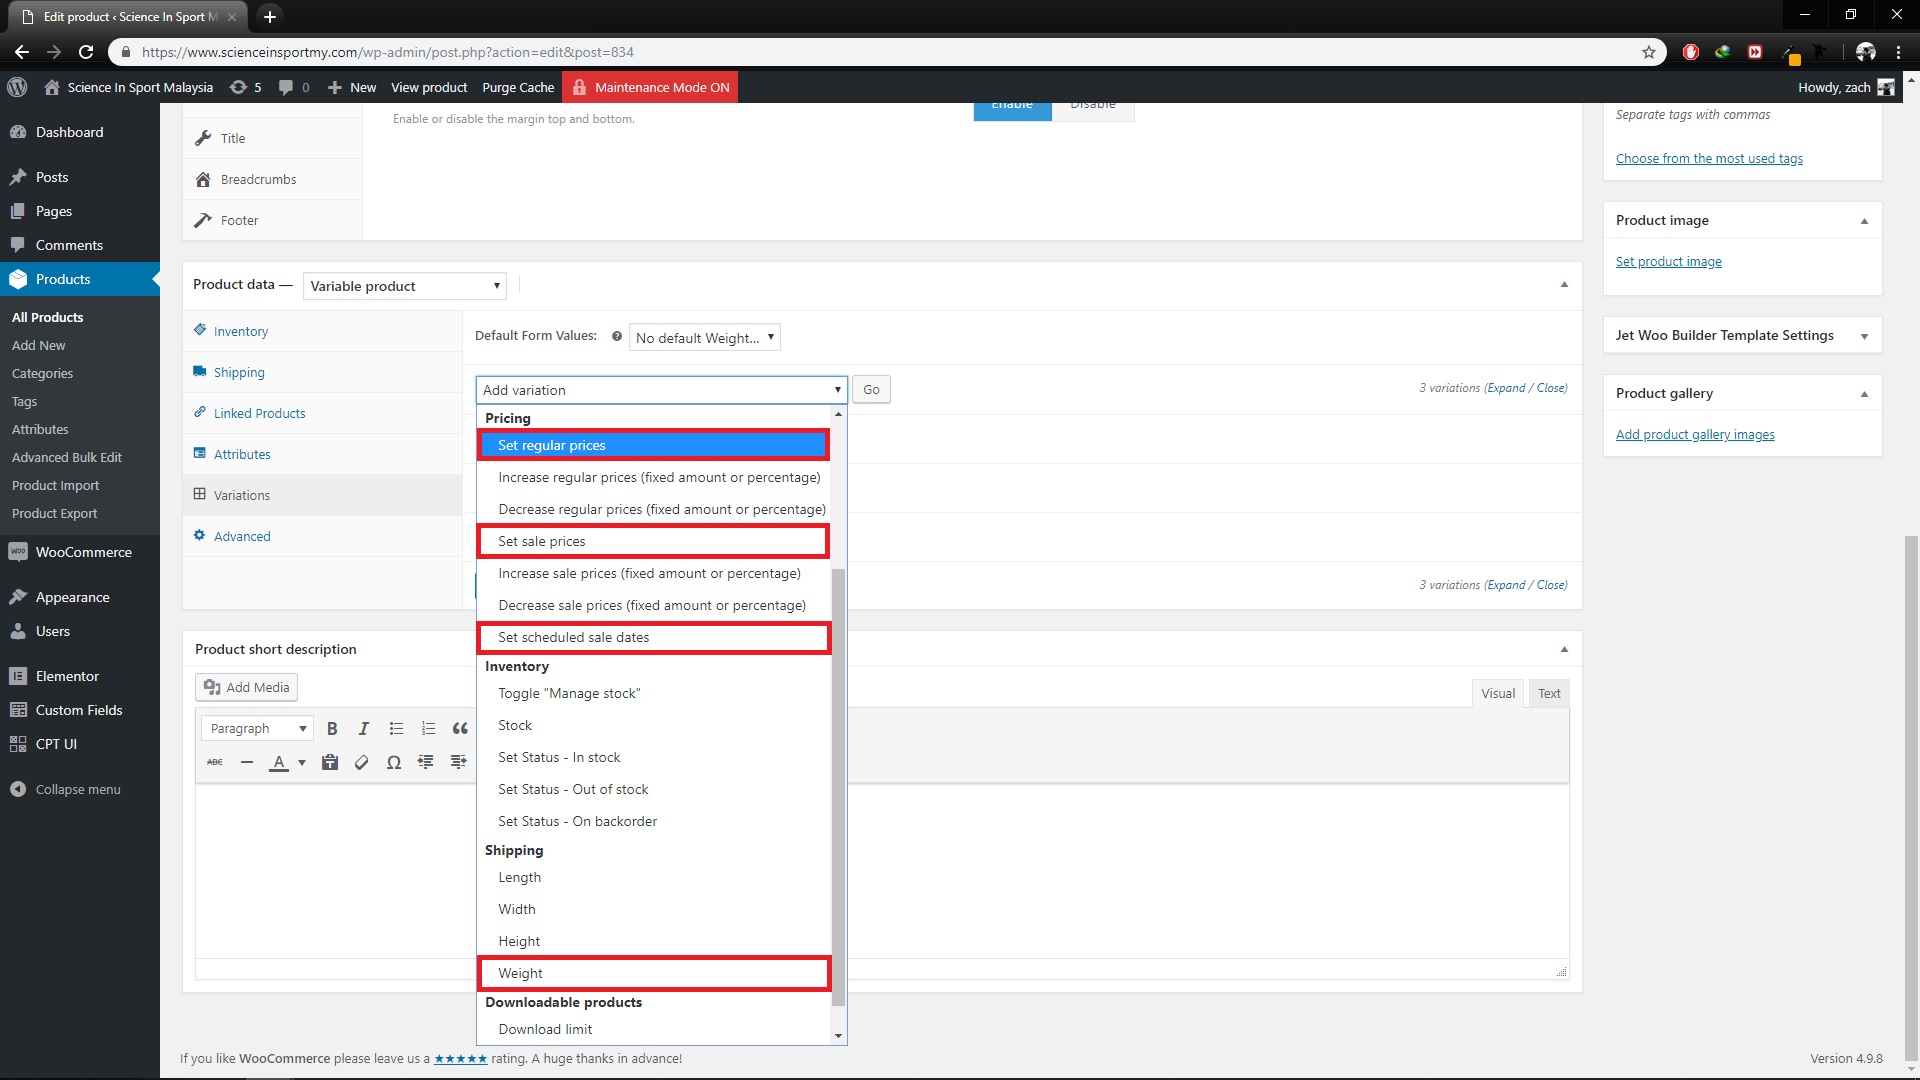
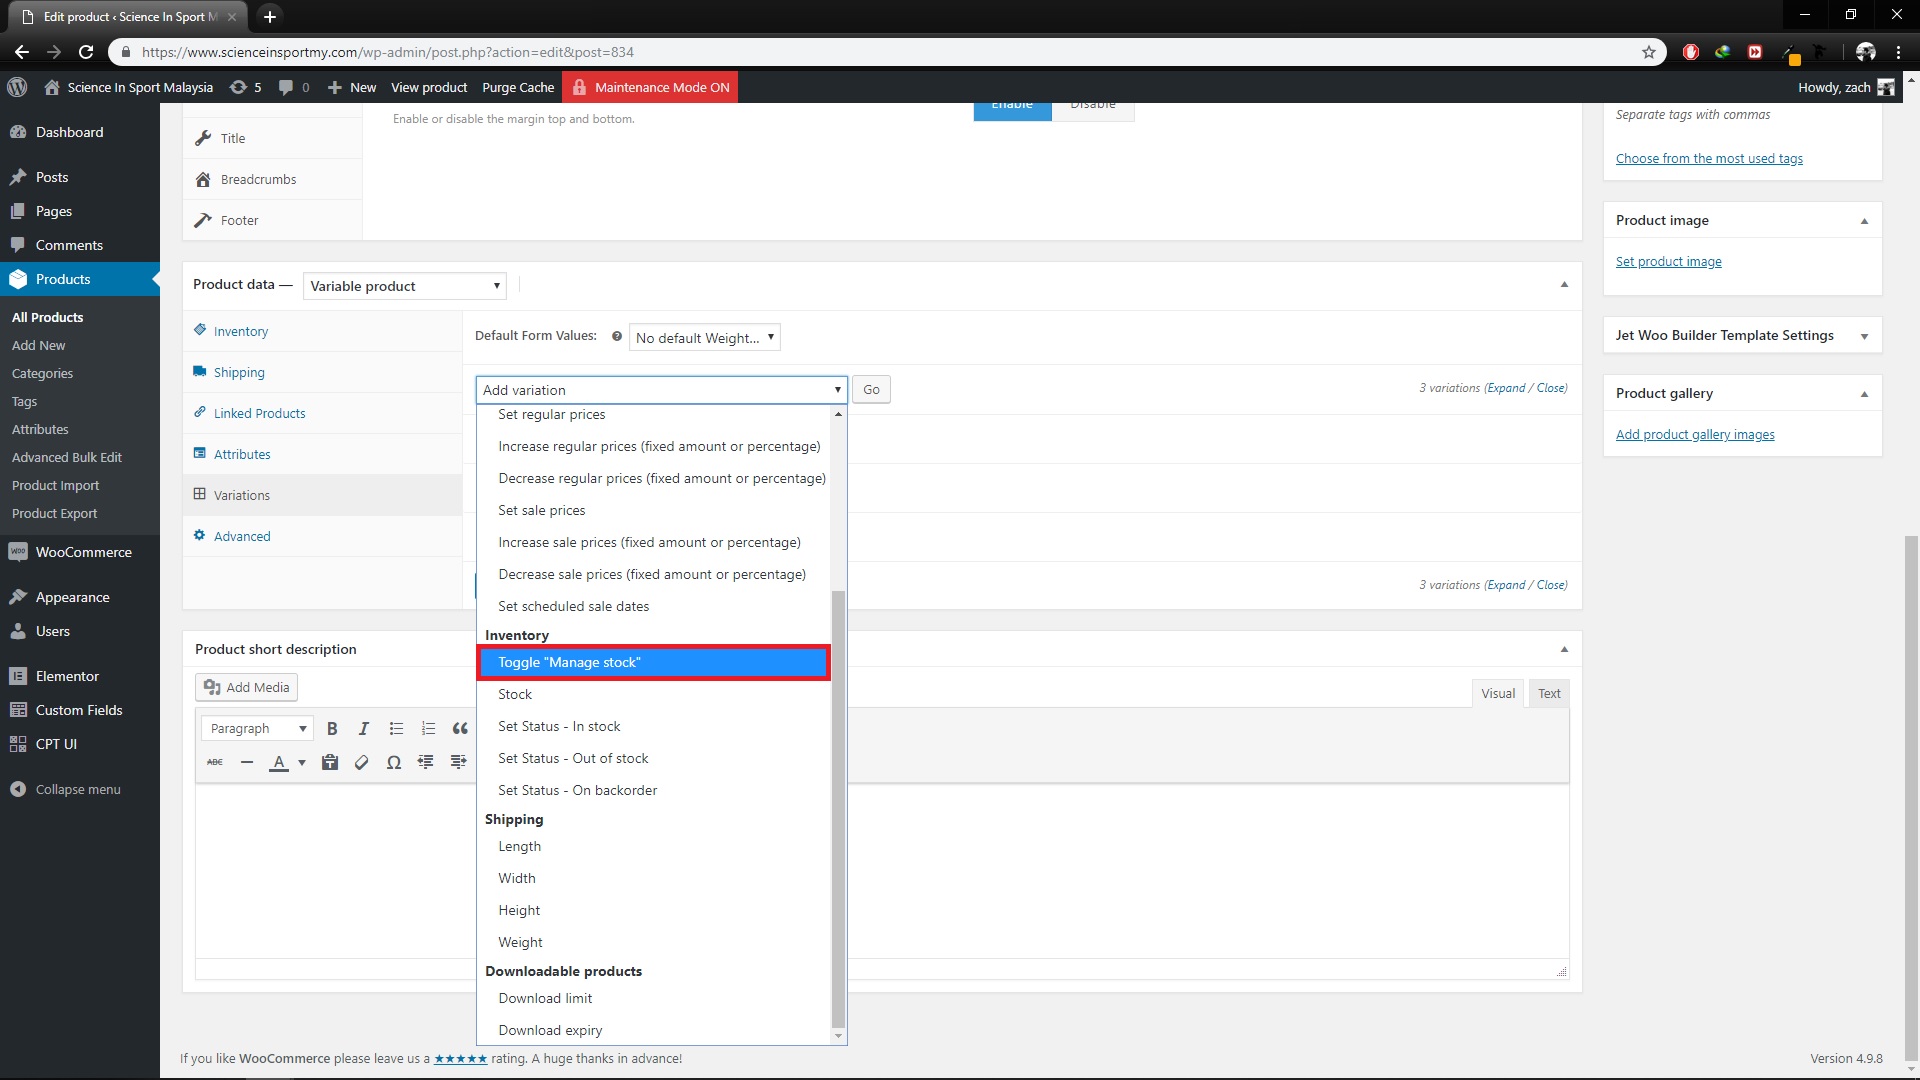
14. To toggle manage stock for all the listed variations, click the dropdown, select toggle “manage stock” and click Go. When a popup appear, just click OK.
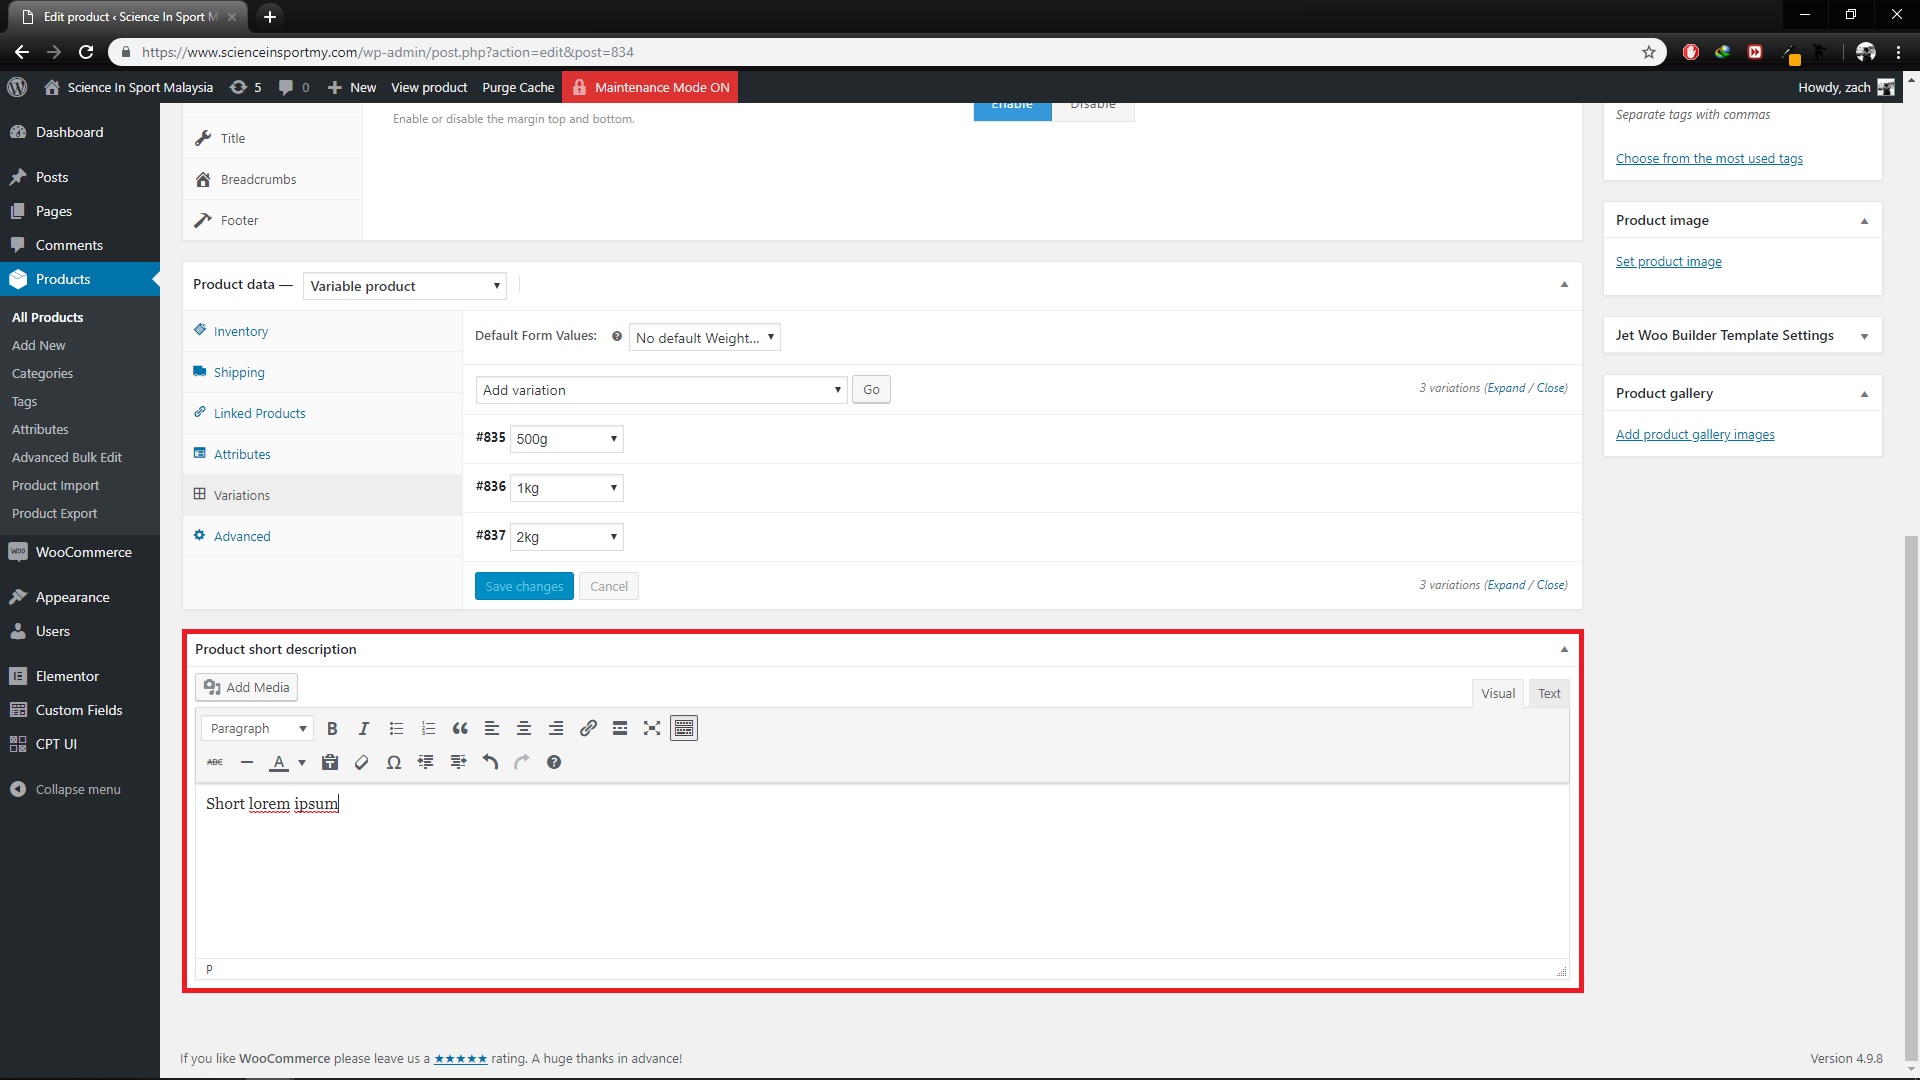
15. If the stock quantity are the same, you just select stock from the dropdown list and click Go. When a popup appear, enter the stock quantity and click OK. Otherwise, if you want to fill the stock quantity one by one, proceed to Advance Bulk Edit.
16. For product short description, it will appear at the right side of single product page.
17. After done editing all details, if you want to set the date when to publish the product click edit, pick the date and click schedule. If not then just click publish.
To edit a product;
1. From dashboard, on the left menu, go to: Products
2. Hover to any product and click edit or just click the product name.
3. Save changes by clicking update after done edit.
To bulk edit products;
1. From dashboard, on the left menu, go to: Products
2. Click the checkbox on the left side of any product and select Edit.
3. Then click apply.
4. Bulk edit can be use to change the status of many products from “publish” to “draft” in one time. You can also change product categories in bulk.
5. After done editting, click update to save changes.
Disclaimer: Once you already published the product and there is customer buying it, you cannot delete the product anymore because it will affect the product sales record.
To delete a product;
1. From dashboard, on the left menu, go to: Products
2. Hover to any product and click trash.
3. Click OK to confirm.